Gardening Advice, How To
Propagation
Learn how to propagate
Plant propagation is a great way to create the garden of your dreams without spending a lot of money. It involves taking cuttings or seeds from existing plants and growing them into new, full-grown plants!
Propagating is simple too, so if you’re into saving money AND having a garden the envy of the neighbourhood – read our 5 step guides to propagation!
Propagation Product Essentials
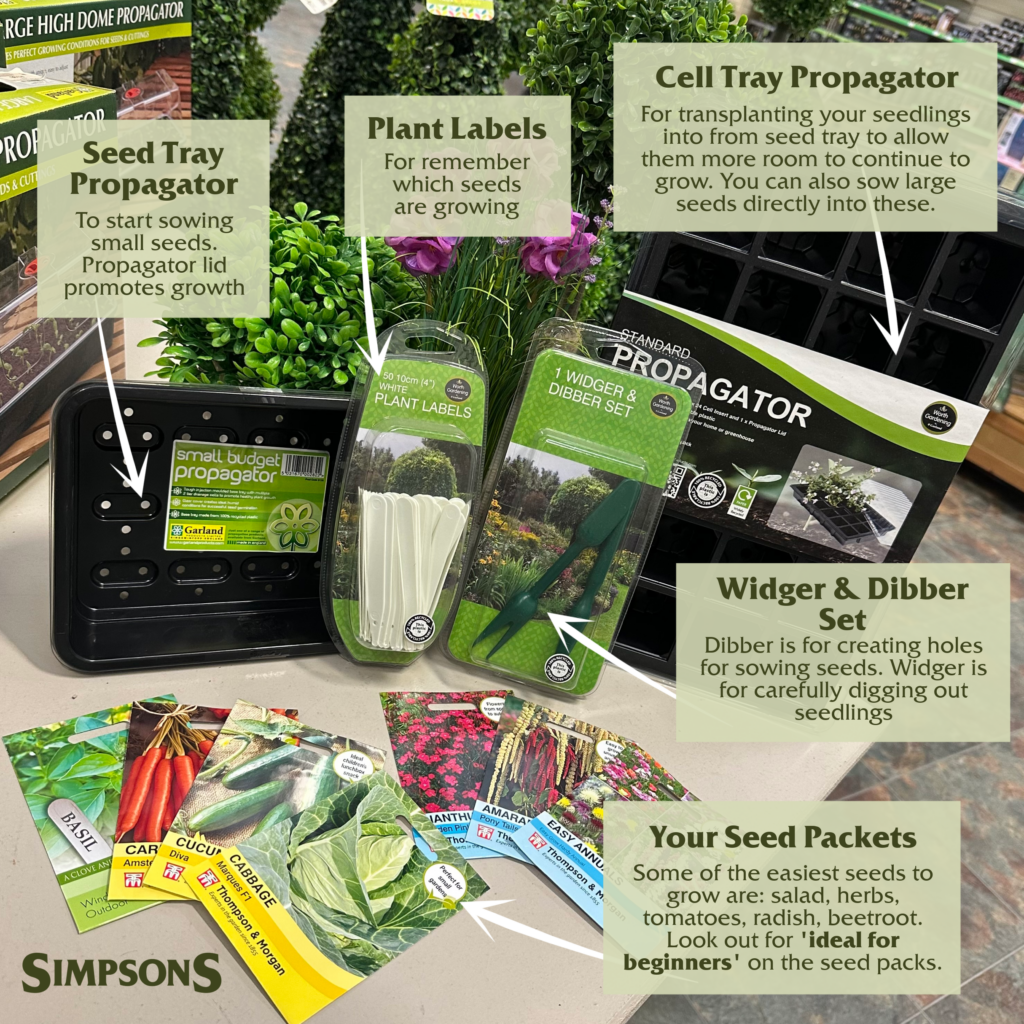
Before we get into the steps of how to propagate, you’ll need the right tools for the job. Here are our 5 simple starter products we would recommend to anyone looking to get into propagation:
- Seed Tray Propagator
- Plant Labels
- Cell Tray Propagator
- Widger & Dibber Set
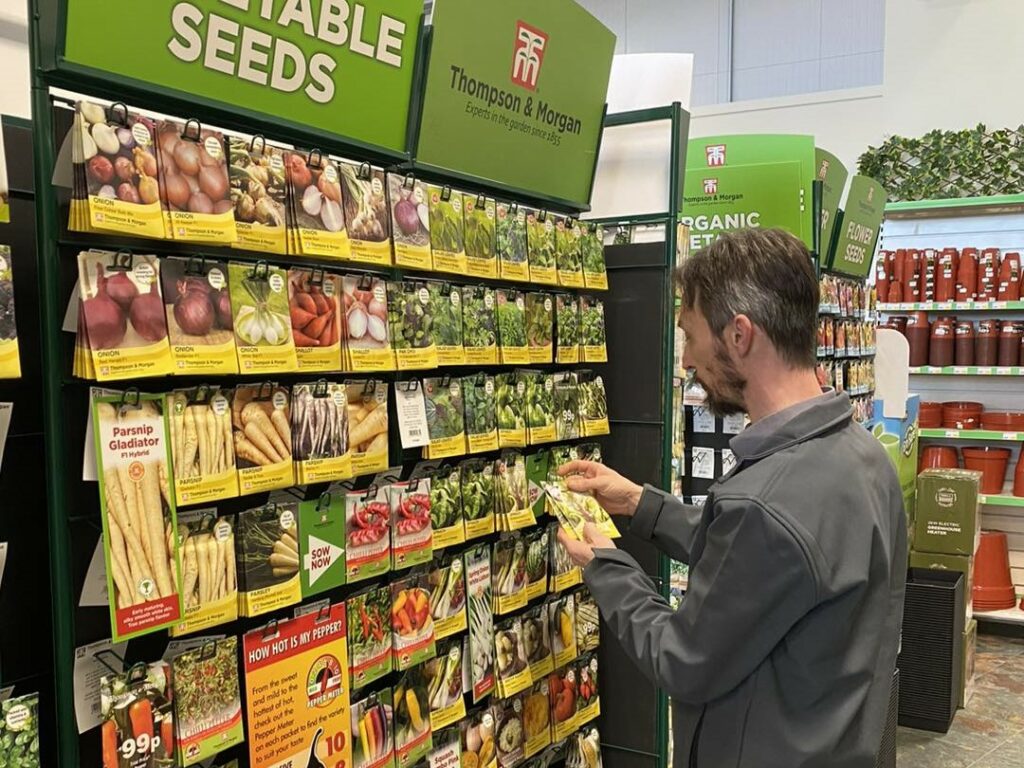
- Your Seed Packets
Propagating plants from seeds
Step 1:
The Right Soil – Start by choosing the right soil mix for your plants. It’s best to use a light, well-draining potting mix that will allow the plant roots to breathe and absorb nutrients. Depending on the type of plant you’re growing, you may want to add some fertilizer, Vermiculite or compost to give it an extra boost. (vermiculite simply helps with drainage in the soil)
Step 2:
Seed Trays – Determine which method of seeding you want to use. If you’re working with large seeds like beans or squash, direct seeding is often recommended since these types of seeds don’t need as much protection or moisture as small seeds do. However, if you’re growing from smaller seeds, it’s best to start with seed trays. This will allow the seeds to germinate and establish roots before needing transplanted into a larger cell tray and eventually outside. Using a propagator to ensure a consistent temperature is the best way to ensure happy seeds.
Step 3:
Space the Seeds – Plant each seed about one centimetre deep into the soil mix with good spacing between them – this will help reduce competition between plants once they start growing. Make sure not to overcrowd the tray – this can cause the seedlings to become spindly and weak after germination due to limited root room.
Step 4:
Water – Provide adequate moisture for your newly sown seeds by covering them with a thin layer of soil mix and then lightly misting them every day until they begin sprouting (usually about one week). Overwatering can cause certain types of seedlings – such as tomatoes – to develop fungal diseases so make sure that you only provide enough water for the plant roots but not too much!
Step 5:
Sunshine – Keep your newly planted pots in bright sunlight during their first few weeks – this will encourage strong root growth and healthy foliage development. As soon as the first true leaves appear (not just cotyledon leaves!), you should begin fertilizing your young seedlings with a liquid fertilizer solution every two weeks – this will help keep them strong and productive throughout their entire life cycle!
Once your seedlings have grown large enough (about four weeks old), they should be ready for transplanting into a larger cell tray, and if warm enough moved out to a greenhouse or gro-zone. If the outdoor temperature is still cold, keep your seedlings indoor on a windowsill.
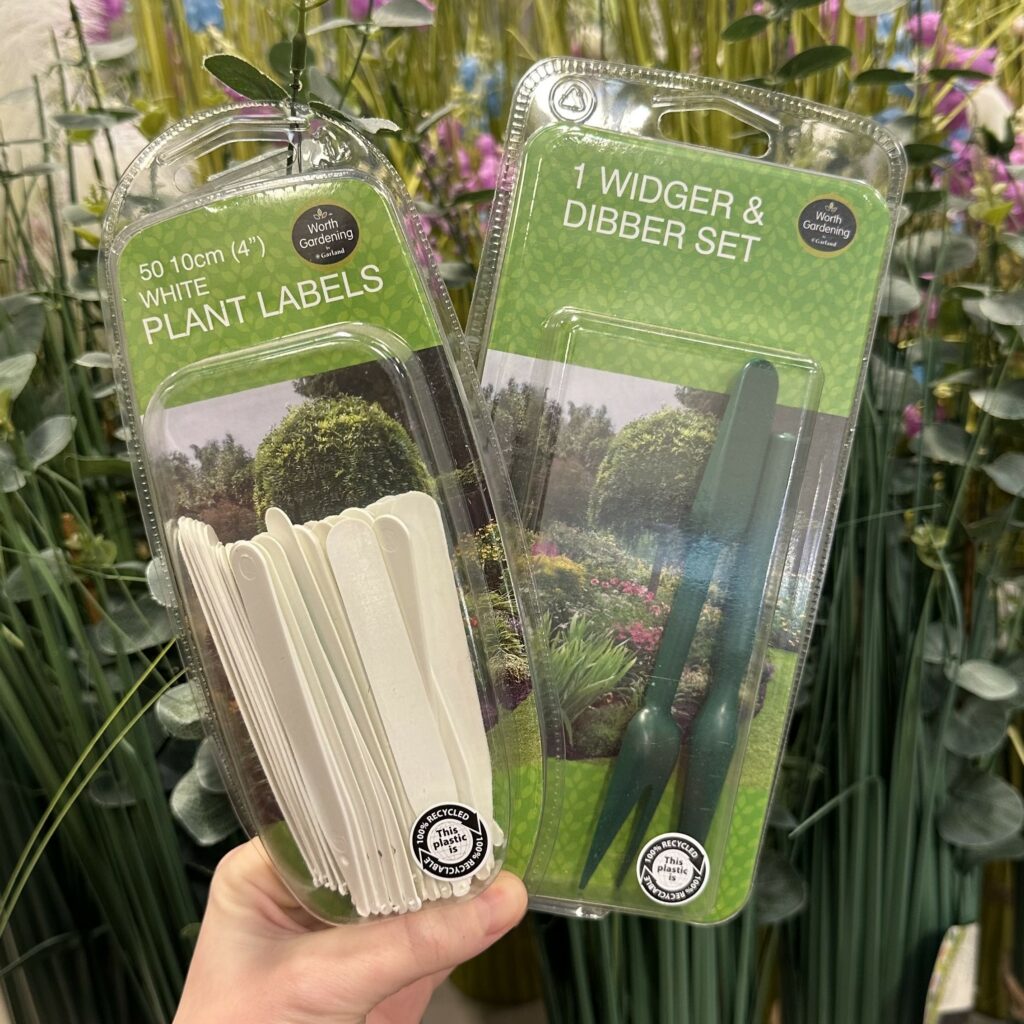
To avoid shock, make sure that you gently dig up each tiny seedling carefully using a widger (as shown in pic 1), keeping its root system intact as much as possible when moving it from one container or position to another. Then fill in any gaps around its roots with fresh potting mix and water thoroughly afterwards using a fine rose sprayer head on your watering can – this ensures all parts of the root system get watered evenly without causing damage from excessive force from a powerful flow!
Propagate from cuttings
Step 1:
Select the Right Plant Species – The first step in propagating plants from cuttings is selecting which species to use. Look for healthy, mature stems that are easy to remove without damaging the parent plant. Perennial flowering plants such as lavender, coleus, rosemary, geraniums, and ivy are all good candidates for propagation through stem cuttings.
Step 2:
Choose Proper Cutting Tools – It is important to use quality cutting tools such as sharp, clean pruning shears or scissors when taking a cutting from the mother plant. When you are done taking your cutting, carefully wipe down the blades of your tool with rubbing alcohol to sanitize them and prevent any potential spread of disease between different plants or species.
Step 3:
Prepare Cuttings for Propagation – Once you have removed your chosen cutting from the mother plant, it’s time to prepare it for rooting in a new medium. Take care when handling cuttings so as not to damage them and make sure all leaves below the node (the point where the leaf/stem attaches) are removed as these will not root properly during propagation. If your chosen species is a woody-stemmed plant, dip the end of your cutting in rooting hormone before planting in soil or water; this helps increase its chances of successful propagation.
Step 4:
Potting & Watering Your Cuttings – Now that your cuttings are prepared for propagation you can begin potting them in either soil or water depending on what type of medium works best with your chosen species (for example; some tropical houseplants love being propagated in water while other flowering plants prefer being planted directly into soil). Make sure to adequately water each potting container so that moisture will be available throughout the entire rooting period and keep an eye out for any signs of wilting or stress as this could indicate over-watering or lack of adequate light exposure.
Step 5:
Monitor Your Cuttings & Re-pot When Ready – The final step in propagating successfully from cuttings is monitoring their progress throughout the rooting period and re-potting them once they have taken root and grown sufficiently large enough to handle transplanting into larger containers or outdoors into garden beds/containers. Keep an eye out for any new growth sprouting around the node area indicating that roots have developed successfully. Once ready, carefully transplant each cutting into its own individual pot so it will have more room to grow and develop further!
Follow these five simple steps as a great starting point for when propagating your own flowers and vegetables from seed and cuttings, and you’ll be an expert before you know it! With proper care, love, patience and understanding; anyone can successfully propagate their own unique garden full of beautiful blooms – happy gardening!
Comments are closed

